This TWD recipe for cheesecake was selected by The Tea Lady from the blog "Tea and Scones".
Cheesecake is definitly one of my fortes. It was one of the first things I learned to bake and the one thing that is repetitively requested for any special event in our family: birthdays, thanksgiving, Christmas... This cake was actually our Christmas dessert this year.
For the longest time it was only NY Cheesecake and nothing else would do, but thankfully lately they've been more receptive and as a result I get to experiment more! I adapted this recipe by adding caramel and pecans for a sort-of turtle cheesecake effect. That is why I have included the recipe on my blog. For the original recipe, check out
The Tea Lady.
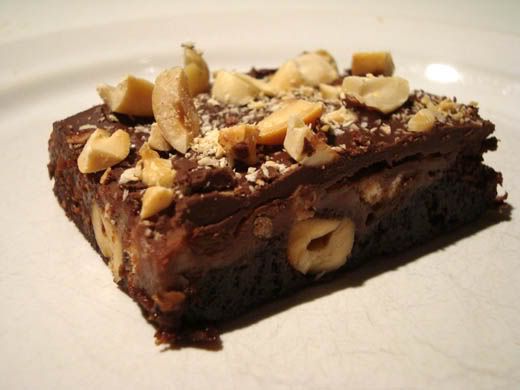
Low and Lush Chocolate Turtle Cheesecake1 - 9" Cake | Adapted from Dorie GreenspanCRUST
1 1/2 cups graham cracker crumbs
2 tablespoons sugar
4 tablespoons unsalted butter, melted
1/2 cup caramel sundae topping
1/2 cup coarsely chopped pecans
FILLING
1 1/2 pounds (three 8-oz pkgs) cream cheese, room temperature
1/2 cup sugar
3 large eggs, room temperature
1 teaspoon vanilla extract
Pinch of salt
1/2 cup sour cream
4 oz bittersweet chocolate, melted and slightly cooled
Center a rack in the oven and preheat to 350 degrees F. Butter a 9-inch springform pan and put the pan on a baking sheet lined with parchment or a silicone mat.
CRUST: Stir the crumbs, sugar and melted butter until all of the dry ingredients are uniformly moist. Turn the crumbs into the pan and, with your fingers, press evenly over the bottom of the pan and as far up the sides as they'll go. Freeze for about 10 minutes.
Bake for 10 minutes, only until the crust is lightly set and just tinged with color. Pour caramel syrup over crust, leaving 1/2 inch from edge uncovered. Sprinkle with pecans. Rrefrigerate while you make the filling. Keep the oven at 350 degrees F.
FILLING: Cut each bar of cream cheese into quarters and toss the pieces into a food processor with the sugar. Process, scraping down the bowl 2 or 3 times, for a full 2 minutes. The cream cheese will look like white velvet at the end of its beating. Add the eggs, vanilla and salt and give the batter 4 longish pulses, the scrape down the bowl, add sour cream and pulse 2 more times. Pour in the chocolate and pulse and scrape a few times to blend the batter well.
Remove the bowl from the processor and rap it hard on the counter a couple of times to de-bubble the batter. Scrape the batter into the cooled crust.
Bake for 35 to 40 minutes. The top should be puffed and set, but if you tap the pan gently, the center of the cake will still be a little shaky. Turn the oven off and leave door ajar with the cheesecake inside for about 20-30 mins then transfer
to a cooling rack and cool for 2 hours. Refrigerate for at least 8 hours or up to 3 days.
To serve, run a blunt knife between the crust and sides of the pan, then open and remove the sides of the springform.
STORING: Wrapped well, the cheesecake will keep in the refrigerator for up to 3 days. It can be frozen for up to 2 months; defrost, still wrapped, overnight in the refrigerator.