I finally did it - I bought a domain name for this blog: www.buttercreambarbie.com - Now all I have to do is figure out all the little things relating to the switch-over so that all the old links work and nothing gets lost in transition. I wish I were more tech-smart sometimes, but i'll muddle my way through. If anyone has any good tips they've learned along the way about setting up their own domain, I would love to hear them.
This weekend was been really productive for me. It feels so satisfying to get through a lot of those little things, tying up those loose ends around the house. It's amazing how long all those little things can take. I'm exhausted! I also wrapped a bunch of Christmas presents (yes, I have already done a lot of my Christmas shopping), and addressed all my Christmas cards. I had to refrain from putting the wreath up on the door as it's still technically November :) Lastly, I even had some time to bake up a quick batch of Peanut Butter Cup Brownies.
As you can see, these brownies didn’t look so pretty in the pan, but once they were cut and you could see the cross section they were prettier. They were dense with a chewy, peanut buttery kick combined with a little added crunch from the rice krispies cereal and peanuts mixed in.

Peanut Butter Cup Brownies
Makes 9 x 13" Pan | adapted from How Sweet blog
1 batch brownies (boxed mix or any 9" pan brownie recipe)
1/2 cup salted peanuts
1 cup chopped Reese’s peanut butter cups
1 1/2 cup milk chocolate chips
1 1/2 cup creamy peanut butter
1 1/2 cups Rice Krispies Cereal
1. Preheat oven to 350 degrees F. Mix brownies according to directions, and bake for 20-25 minutes in a greased 9 x 13" baking dish. They will be thinner than brownies you are used to since the batter is spread into a large pan than the standard 9". Remove and top with peanuts and peanut butter cups then bake for 4-6 minutes more.
2. While they are finishing baking, melt chocolate chips, peanut butter and butter. Stir in cereal. Remove brownies from oven and evenly pour chocolate mixture over top. Refrigerate for 2 hours before serving.




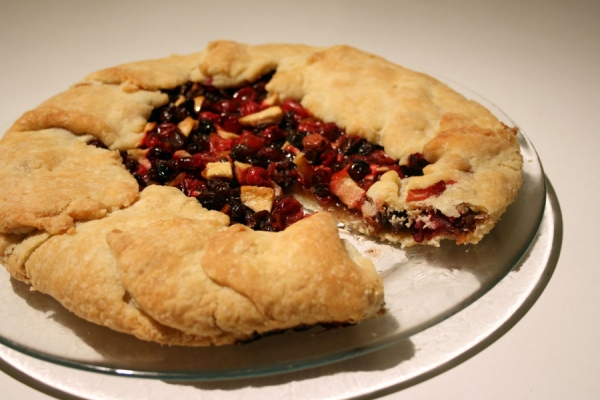
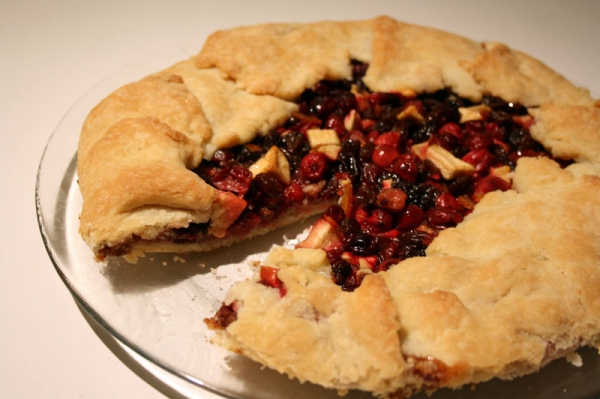 This galette/free-form tart was WAY too tart for my liking. My favorite part was the little chunks of apple that burst with sugary sweetness especially in comparison with the cranberries. Next time I will either add WAY more sugar or increase the ration of apples to cranberries and reduce the lime juice.
On the plus side, it was a really pretty, festive-looking pastry. It was one that made you go, "wow" when you saw it. It was elegant in a relaxed, unpretentious way.
This galette/free-form tart was WAY too tart for my liking. My favorite part was the little chunks of apple that burst with sugary sweetness especially in comparison with the cranberries. Next time I will either add WAY more sugar or increase the ration of apples to cranberries and reduce the lime juice.
On the plus side, it was a really pretty, festive-looking pastry. It was one that made you go, "wow" when you saw it. It was elegant in a relaxed, unpretentious way.
 Thanks to Whitney, April and Elizabeth of
 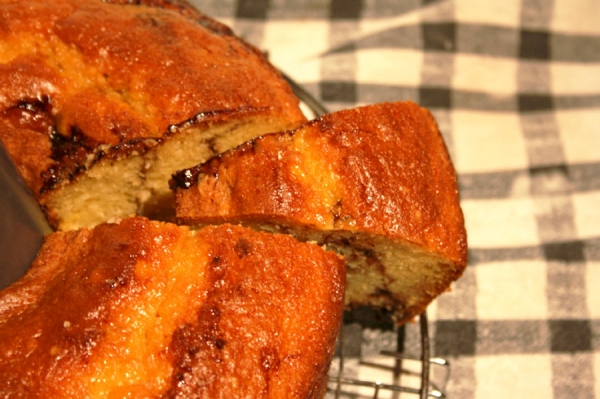 You can tell I'm super-busy when my baking starts to rely more on doctoring cake mixes and canned crescent rolls. I'm a huge proponent of baking from scratch, but life has been passing by so fast that sometimes a girl's just gotta cheat a little. If you are planning on using a cake mix anyway or if you need to make a cake quickly, I highly recommend this recipe.
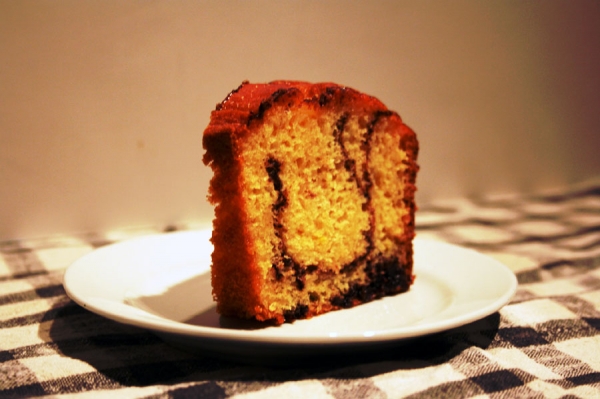
Your reward for all your "hard work" is a very vanilla-y, very moist and very chic tube cake with a swirl of chocolate syrup running through the middle. I love the way it split down the middle and has a tight crumb similar to that of pound cake. It even looks homemade!
You can tell I'm super-busy when my baking starts to rely more on doctoring cake mixes and canned crescent rolls. I'm a huge proponent of baking from scratch, but life has been passing by so fast that sometimes a girl's just gotta cheat a little. If you are planning on using a cake mix anyway or if you need to make a cake quickly, I highly recommend this recipe.
Your reward for all your "hard work" is a very vanilla-y, very moist and very chic tube cake with a swirl of chocolate syrup running through the middle. I love the way it split down the middle and has a tight crumb similar to that of pound cake. It even looks homemade!
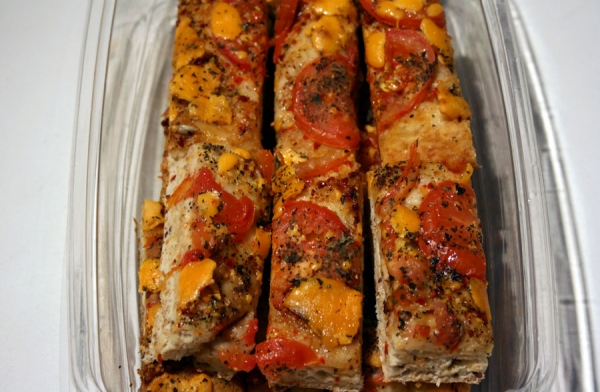
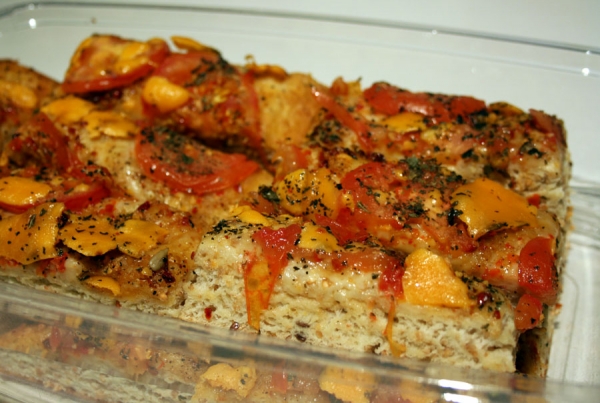

 This cake was a huge success! It falls into my favorite category of baked goods: hybrids! Part shortbread, part cake, part pie - ALL DELICIOUS!
I was feeling a little lazy this weekend and was tempted to use canned cranberry sauce, but I pulled up my socks and made the filling as directed in the recipe. I'm so glad I did. It was phenomenal with just the right balance of sweetness and tartness accented by a hint of fresh orange flavor. I am definitely going to make this cake again and again with different fillings. Blueberries or cherries anyone?
This cake was a huge success! It falls into my favorite category of baked goods: hybrids! Part shortbread, part cake, part pie - ALL DELICIOUS!
I was feeling a little lazy this weekend and was tempted to use canned cranberry sauce, but I pulled up my socks and made the filling as directed in the recipe. I'm so glad I did. It was phenomenal with just the right balance of sweetness and tartness accented by a hint of fresh orange flavor. I am definitely going to make this cake again and again with different fillings. Blueberries or cherries anyone?
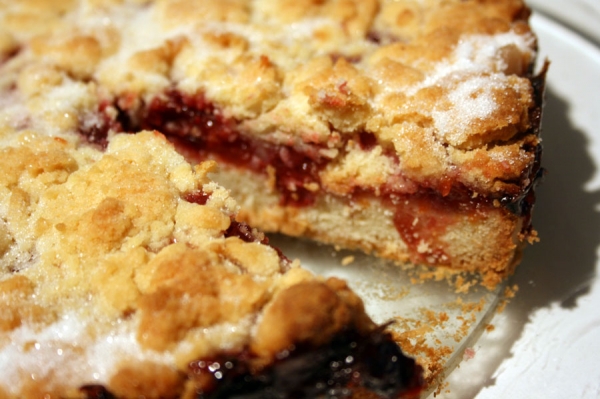 The only change I made to the recipe was to crumble the topping over the filling (like a streusel) instead of rolling it and laying out flat on top. I'm sending out a huge thank you to Jessica of