I didn't make this week's TWD recipe. My excuse is that I am exhausted from Black Friday shopping. We didn't sleep all night and we literally shopped for 24 hours. Left Vancouver, BC at 7 PM on Thursday night and were in Walmart in WA by 9:30 PM. We were there for the door crashers at midnight then went to Old Navy then Target for their opening at 4 AM. We basically hit every store as it opened. It was INTENSE. Looking back on it, the whole thing is quite comical. We had our walkie talkies, we had our store maps and we were on a MISSION. Thank the Lord that we had a nice border guard so we didn't have to pay tax on the $1000 worth of goods that we brought back home. I spent $110 in Walmart and $175 at Target and got way too many appliances. I can't wait till next year, lol.
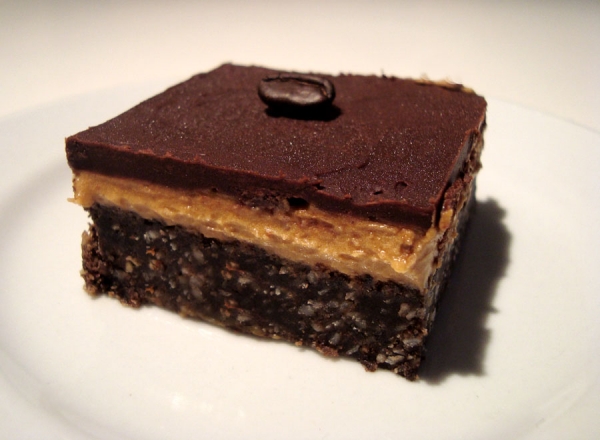
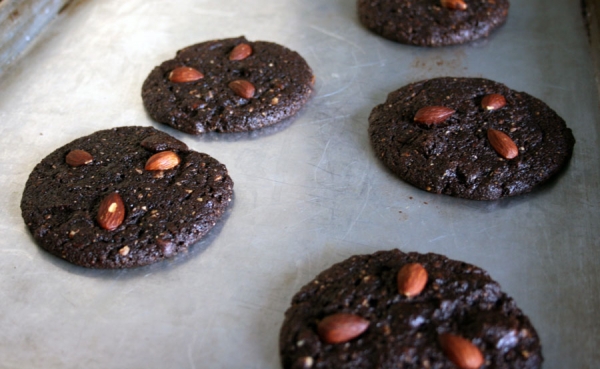
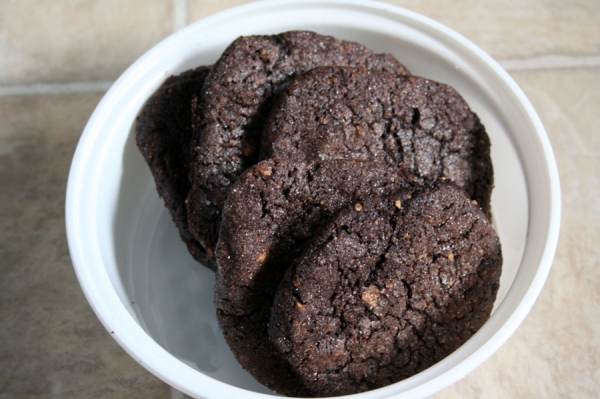
Instead of the Devilish (Chocolate) Shortcakes, I made something simpler than simple and comforting with classic holiday flavors. Today I'm proud to post yet another great cookie recipe from 400 Sensational Cookies
I also have a GIVEAWAY (US and Canadian blogging residents only please): a Taylor 8lb digital food scale, the Chicken Soup for the Soul Cookbook & a set of 4 star-topped holiday spreaders. The book is full of heartwarming stories related to food and each story has a special recipe to accompany it. Digital scales are awesome for measuring nuts and chocolate and flour (and lots of other things, but I use mine most for those three).
All you have to do is leave a comment here to tell me what recipe brings back the best memories for you. If you have a link to that recipe on your blog, you might want to link to it :) Deadline to enter is Sunday, Dec 5th at 11:59 PM. I will pick a winner randomly and contact that person through her blog.***GIVEAWAY EXPIRED***
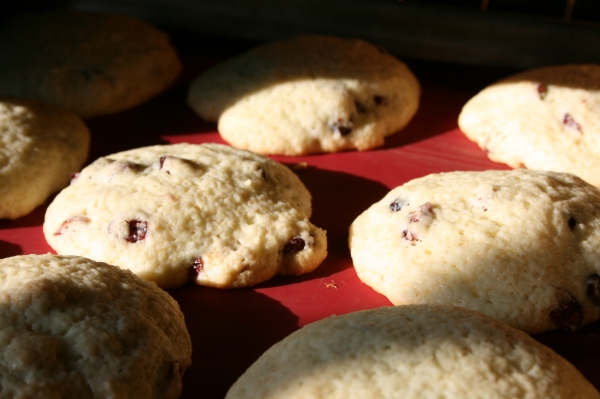
Cranberry Orange Cookies
Makes 36 | adapted from 400 Sensational Cookies
3 cups flour
2 tsp baking powder
1/2 tsp baking soda
1/2 tsp salt
1 cup butter
1 1/3 cup sugar
2 eggs
1 tsp vanilla
1/4 cup orange juice
Zest of 1 orange
1 cup dried cranberries
1 cup chopped walnuts (optional)
1. Preheat oven to 325 degrees F.
2. Combine flour, soda, salt, powder. Cream together butter, sugar until light and fluffy. Add eggs then vanilla. Mix in flour then fold in cranberries and nuts.
3. Drop by tablespoonfuls leaving 1-2" between. Bake 12-15 minutes, until golden brown around the edges, however, they will be still pale on top.
 This chocolate & vanilla swirl bundt cake recipe is a clone of a cake you can find at a bakery in L.A. called
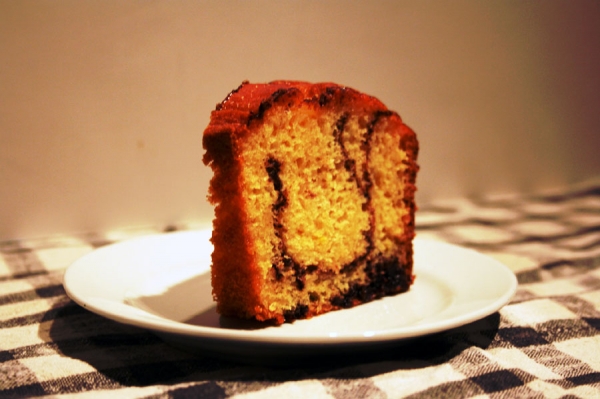
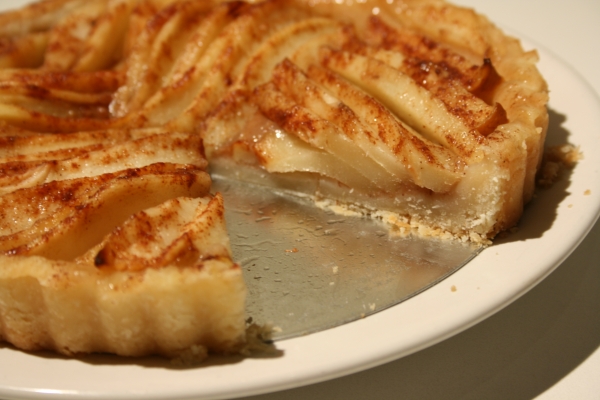


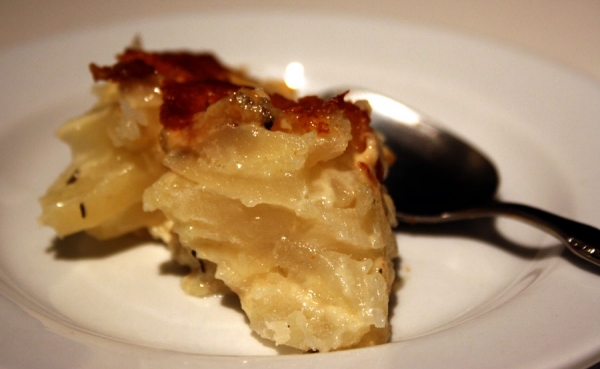


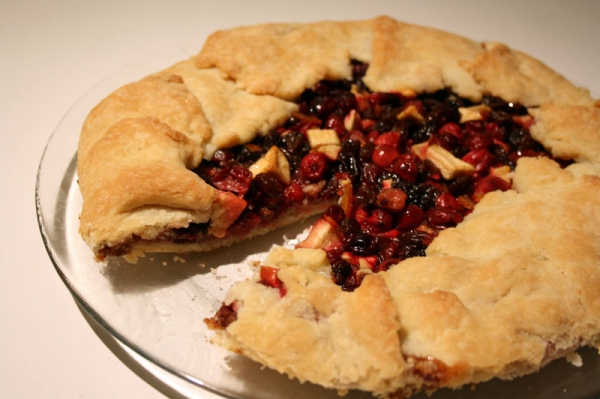 This galette/free-form tart was WAY too tart for my liking. My favorite part was the little chunks of apple that burst with sugary sweetness especially in comparison with the cranberries. Next time I will either add WAY more sugar or increase the ration of apples to cranberries and reduce the lime juice.
On the plus side, it was a really pretty, festive-looking pastry. It was one that made you go, "wow" when you saw it. It was elegant in a relaxed, unpretentious way.
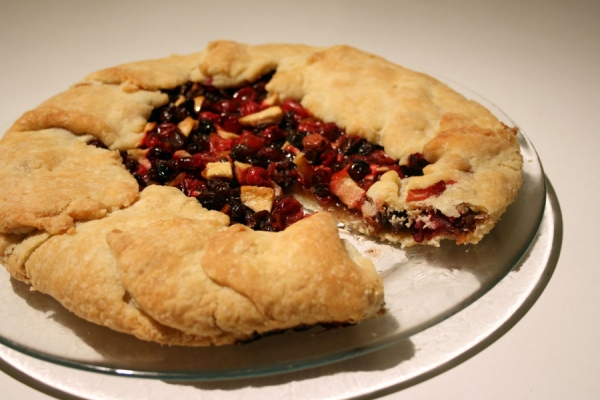
This galette/free-form tart was WAY too tart for my liking. My favorite part was the little chunks of apple that burst with sugary sweetness especially in comparison with the cranberries. Next time I will either add WAY more sugar or increase the ration of apples to cranberries and reduce the lime juice.
On the plus side, it was a really pretty, festive-looking pastry. It was one that made you go, "wow" when you saw it. It was elegant in a relaxed, unpretentious way.
 Thanks to Whitney, April and Elizabeth of
 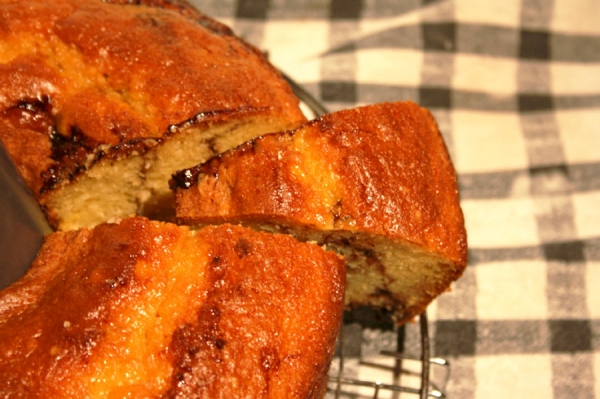 You can tell I'm super-busy when my baking starts to rely more on doctoring cake mixes and canned crescent rolls. I'm a huge proponent of baking from scratch, but life has been passing by so fast that sometimes a girl's just gotta cheat a little. If you are planning on using a cake mix anyway or if you need to make a cake quickly, I highly recommend this recipe.
Your reward for all your "hard work" is a very vanilla-y, very moist and very chic tube cake with a swirl of chocolate syrup running through the middle. I love the way it split down the middle and has a tight crumb similar to that of pound cake. It even looks homemade!
You can tell I'm super-busy when my baking starts to rely more on doctoring cake mixes and canned crescent rolls. I'm a huge proponent of baking from scratch, but life has been passing by so fast that sometimes a girl's just gotta cheat a little. If you are planning on using a cake mix anyway or if you need to make a cake quickly, I highly recommend this recipe.
Your reward for all your "hard work" is a very vanilla-y, very moist and very chic tube cake with a swirl of chocolate syrup running through the middle. I love the way it split down the middle and has a tight crumb similar to that of pound cake. It even looks homemade!

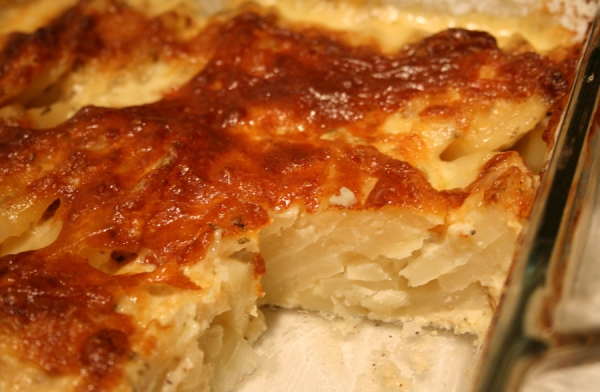
 This cake was a huge success! It falls into my favorite category of baked goods: hybrids! Part shortbread, part cake, part pie - ALL DELICIOUS!
I was feeling a little lazy this weekend and was tempted to use canned cranberry sauce, but I pulled up my socks and made the filling as directed in the recipe. I'm so glad I did. It was phenomenal with just the right balance of sweetness and tartness accented by a hint of fresh orange flavor. I am definitely going to make this cake again and again with different fillings. Blueberries or cherries anyone?
This cake was a huge success! It falls into my favorite category of baked goods: hybrids! Part shortbread, part cake, part pie - ALL DELICIOUS!
I was feeling a little lazy this weekend and was tempted to use canned cranberry sauce, but I pulled up my socks and made the filling as directed in the recipe. I'm so glad I did. It was phenomenal with just the right balance of sweetness and tartness accented by a hint of fresh orange flavor. I am definitely going to make this cake again and again with different fillings. Blueberries or cherries anyone?
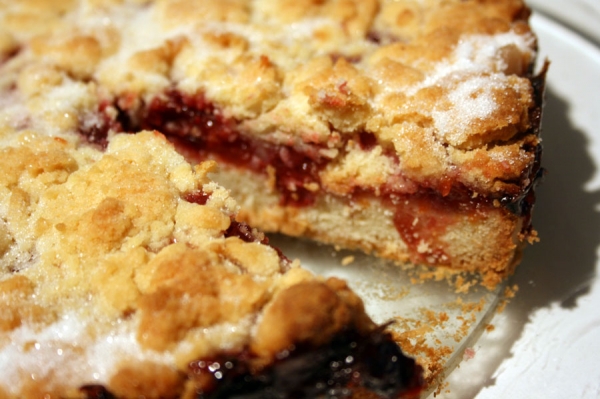 The only change I made to the recipe was to crumble the topping over the filling (like a streusel) instead of rolling it and laying out flat on top. I'm sending out a huge thank you to Jessica of